How to Carve Porcelain Maker's Marks — From Start to Finish


Florian Gadsby
@floriangadsbyAbout
Florian Gadsby is a ceramicist working with stoneware and porcelain in North London — here you'll find videos that show process, how pottery is thrown and finished and finally glazed and kiln fired. The videos here show the processes behind his work, such as the throwing and trimming of tableware and more sculptural pieces. For more regular posts, including daily photographs and videos, make sure to follow over on my Instagram: (www.instagram.com/floriangadsby). I restock my online shop around 3/4 times a year, with about 300-400 pieces a time, if you'd like to receive a newsletter about when these go live you can sign up to my newsletter on my website, (https://www.floriangadsby.com/newsletter). I also leave the shop page online, even though it appears as sold out, it usually sells out in a few minutes time, just to give you an idea of what's available and the price range, (https://www.floriangadsby.com/shop). If there's anything else you'd like to know, please do get in touch!
Latest Posts


Video Description
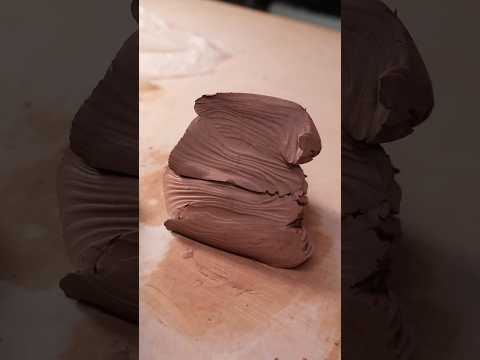
This week's video is a revisit of sorts. I'm carving porcelain maker's marks used to sign my pots but this time I'm demonstrating the carving of them, the bisque firing, how they're glazed, how I construct their little 'jigs' for firing, the reduction firing itself and finally unpacking the finished, now glaze covered and shrunken objects. Here's a link to Mark Tallowin's website, the man who made my stamp pouch shown at the beginning: https://www.marktallowin.co.uk I used Audrey Blackman porcelain for these but you can use any, or a smooth, stoneware clay body/terracotta too. Timestamps: 0:00 – Introduction 0:23 – The tools used 0:44 – Preparing the porcelain 1:15 – Separating out the 'blanks' 1:40 – Piercing holes in the handles 2:47 – Grinding the tops flat 3:22 – Two tips and tricks 4:18 – Penciling in my backwards symbol 4:29 – The carving begins 5:20 – Carving away to create the border 6:06 – Cleaning up the length 6:42 – Testing the mark 7:27 – Packing them for a bisque firing in my electric kiln 8:21 – Glazing the stamps 9:13 – Creating the 'jigs' which they're fired in 11:07 – Packing my ROHDE KG-340 gas kiln 11:20 – Firing the gas kiln to cone ten, (1290ºC) 12:28 – Unpacking the kiln 36 hours later 13:38 – Unsheathing them and showing the finished pieces 14:22 – Afterword and demonstrating pots being stamped Thanks for watching, especially if you made it all the way to the end! ____ Instagram – https://www.instagram.com/floriangadsby/ TikTok – https://www.tiktok.com/@floriangadsby Website – http://www.floriangadsby.com


Essential Porcelain Carving Tools
AI-recommended products based on this video
