Arduino GIGA Display Shield

DroneBot Workshop
@dronebotworkshopAbout
Welcome to the Workshop! The DroneBot Workshop is the place where I work with Arduino, Raspberry Pi, ESP32, and lots of other cool microcontrollers, components, and sensors. This is a channel for learning and understanding. While I do build projects, most episodes focus on showing you HOW things work, so you can use the information to bring your own designs to life. Every video has a corresponding article on my website at https://dronebotworkshop.com , along with the diagrams and code samples you’ll need to build your own creations. You can also participate in discussions on my Forum at https://forum.dronebotworkshop.com. Please note that I no longer do any sponsored videos, enquiries for these will be ignored! If you'd like to know more about me or the DroneBot Workshop you can read the FAQ at https://dronebotworkshop.com/about-dronebot-workshop/faq/ And if you have technical questions please ask them on the Forum. Welcome to the Workshop! I hope you enjoy your stay! Bill
Latest Posts

Video Description
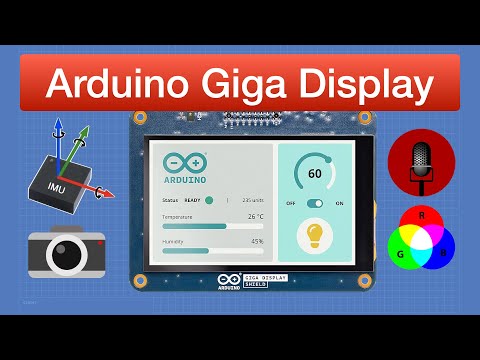
The Arduino Giga Display Shield is a touchscreen display with an IMU, microphone, RGB LED, and camera connector. Article with code: https://dronebotworkshop.com/giga-display More articles and tutorials: https://dronebotworkshop.com Join the conversation on the forum: https://forum.dronebotworkshop.com Subscribe to the newsletter and stay in touch: https://dronebotworkshop.com/subscribe/ We have already looked at the Arduino Giga; it’s an advanced microcontroller that brings the horsepower of the Portenta series to a board with an Arduino Mega format. Today, we will look at an exciting accessory for the Giga, the Arduino Giga Display Shield. This is a full-featured 800x480 TFT display with a capacitive touch screen. It also has an onboard IMU so you can read the display orientation, a MEMS microphone, and an RGB LED. There is also an extension of the Giga’s existing camera connector on the front of the display. This device is called a “shield,” but it actually mounts on the underside of the GIGA board, using the display and camera connectors. This arrangement makes for a very straightforward hardware setup, and you can still use conventional shields on the Arduino when the display is mounted. In this video, I will walk you through all the features of the Arduino Giga Display Shield. Here is the Table of Contents for today's presentation: 00:00 - Introduction 01:25 - Arduino Giga Display Shield 05:08 - Getting Started 06:47 - RGB LED Coding 08:26 - IMU Coding 10:30 - Microphone Coding 14:54 - ArduinoGraphics Library 16:32 - ArduinoGraphics Library Demo 19:13 - Arduino Logo Demo 21:42 - Displaying Your Own Images 25:04 - GFX Library 26:20 - GFX Library Demo 29:33 - LVGL Library & Framework 32:10 - LVGL Demo Code 36:42 - LVGL with IMU and Image 39:49 - Touch Screen Intro 40:58 - Touch Screen Polling Demo 43:44 - Touch Screen Interrupt Demo 46:10 - Camera 48:22 - Camera Demo 53:02 - Conclusion I think that this display would make an ideal “master control panel,” perhaps for an Arduino IoT Cloud project. You can expect to see it again in another video!
You May Also Like


Boost Your Arduino Projects
AI-recommended products based on this video

DHT11 modules Digital Temperature and Humidity Temperature Sensor for arduino DIY KIT 5pcs

Bark Shield- The BarkShield Pro, 2025 New Bark Shield Anti Barking Device for Dogs, with HD Display and LED Flashlight, with a Single Press, Attract Your Dog's Attention (Black-1pcs)
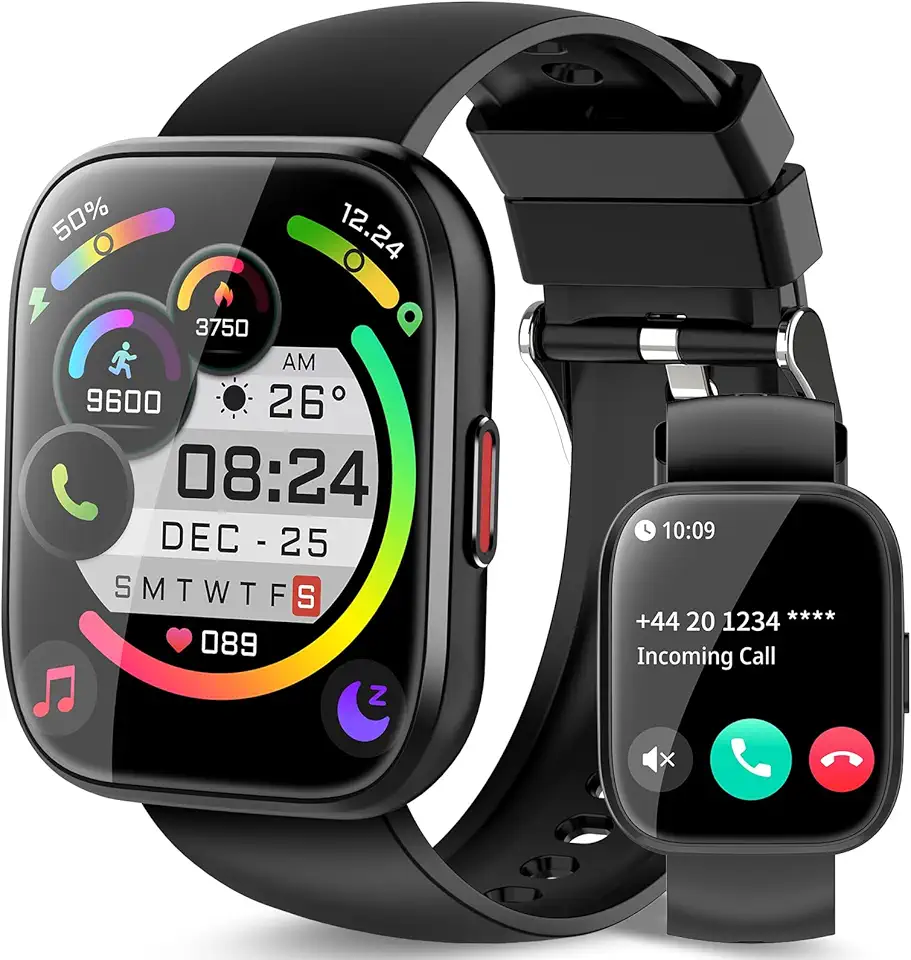
Smart Watch for Men Women Bluetooth Call, 1.85" HD Touch Screen Fitness Watch with Sleep Heart Rate Monitor, 112+ Sports Modes, IP68 Waterproof Activity Trackers for Android iOS, Black
Smart Watch for Men/Women, Smartwatch with 1.95" Touch Screen, 110+ Sport Modes Fitness Tracker, Activity Tracker with Heart Rate Monitor/Pedometer, IP68 Waterproof Watch for Calls Black